Publish a Contract
Some advanced users may consider publishing a smart contract to the Aptos blockchain using their Vault. This is a great way to manage your smart contracts and to less vulnerable to compromised wallets. Especially when smart contracts are upgradeable, it is important to ensure that the contract deployer is a secure and trusted source.
Getting Started
Compiling a Publishing JSON
In order to publish a contract from Petra Vault, you need to compile a publishing JSON file. This file will contain the necessary information to publish
the contract to the Aptos blockchain. From the root of your Move project (the directory containing the Move.toml file),
run the following command to compile your project to a publishing JSON file:
aptos move build-publish-payload --json-output-file output.jsonThe deployer address should be the address of your Vault. You can either
define this address in the Move.toml file or pass it in as a named address.
With this command, an output.json file should be generated in the root of your Move project. You should see something like this as a result in the console:
Compiling, may take a little while to download git dependencies...
UPDATING GIT DEPENDENCY https://github.com/aptos-labs/aptos-framework.git
UPDATING GIT DEPENDENCY https://github.com/aptos-labs/aptos-framework.git
INCLUDING DEPENDENCY AptosFramework
INCLUDING DEPENDENCY AptosStdlib
INCLUDING DEPENDENCY MoveStdlib
BUILDING account_abstraction
package size 3549 bytes
{
  "Result": "Publication payload entry function JSON file saved to output.json"
}
Navigating to the Publish Contract Page
Once you have compiled your publishing JSON file, you can navigate to the Publish Contract page by clicking on the Publish Contract option in the sidebar.
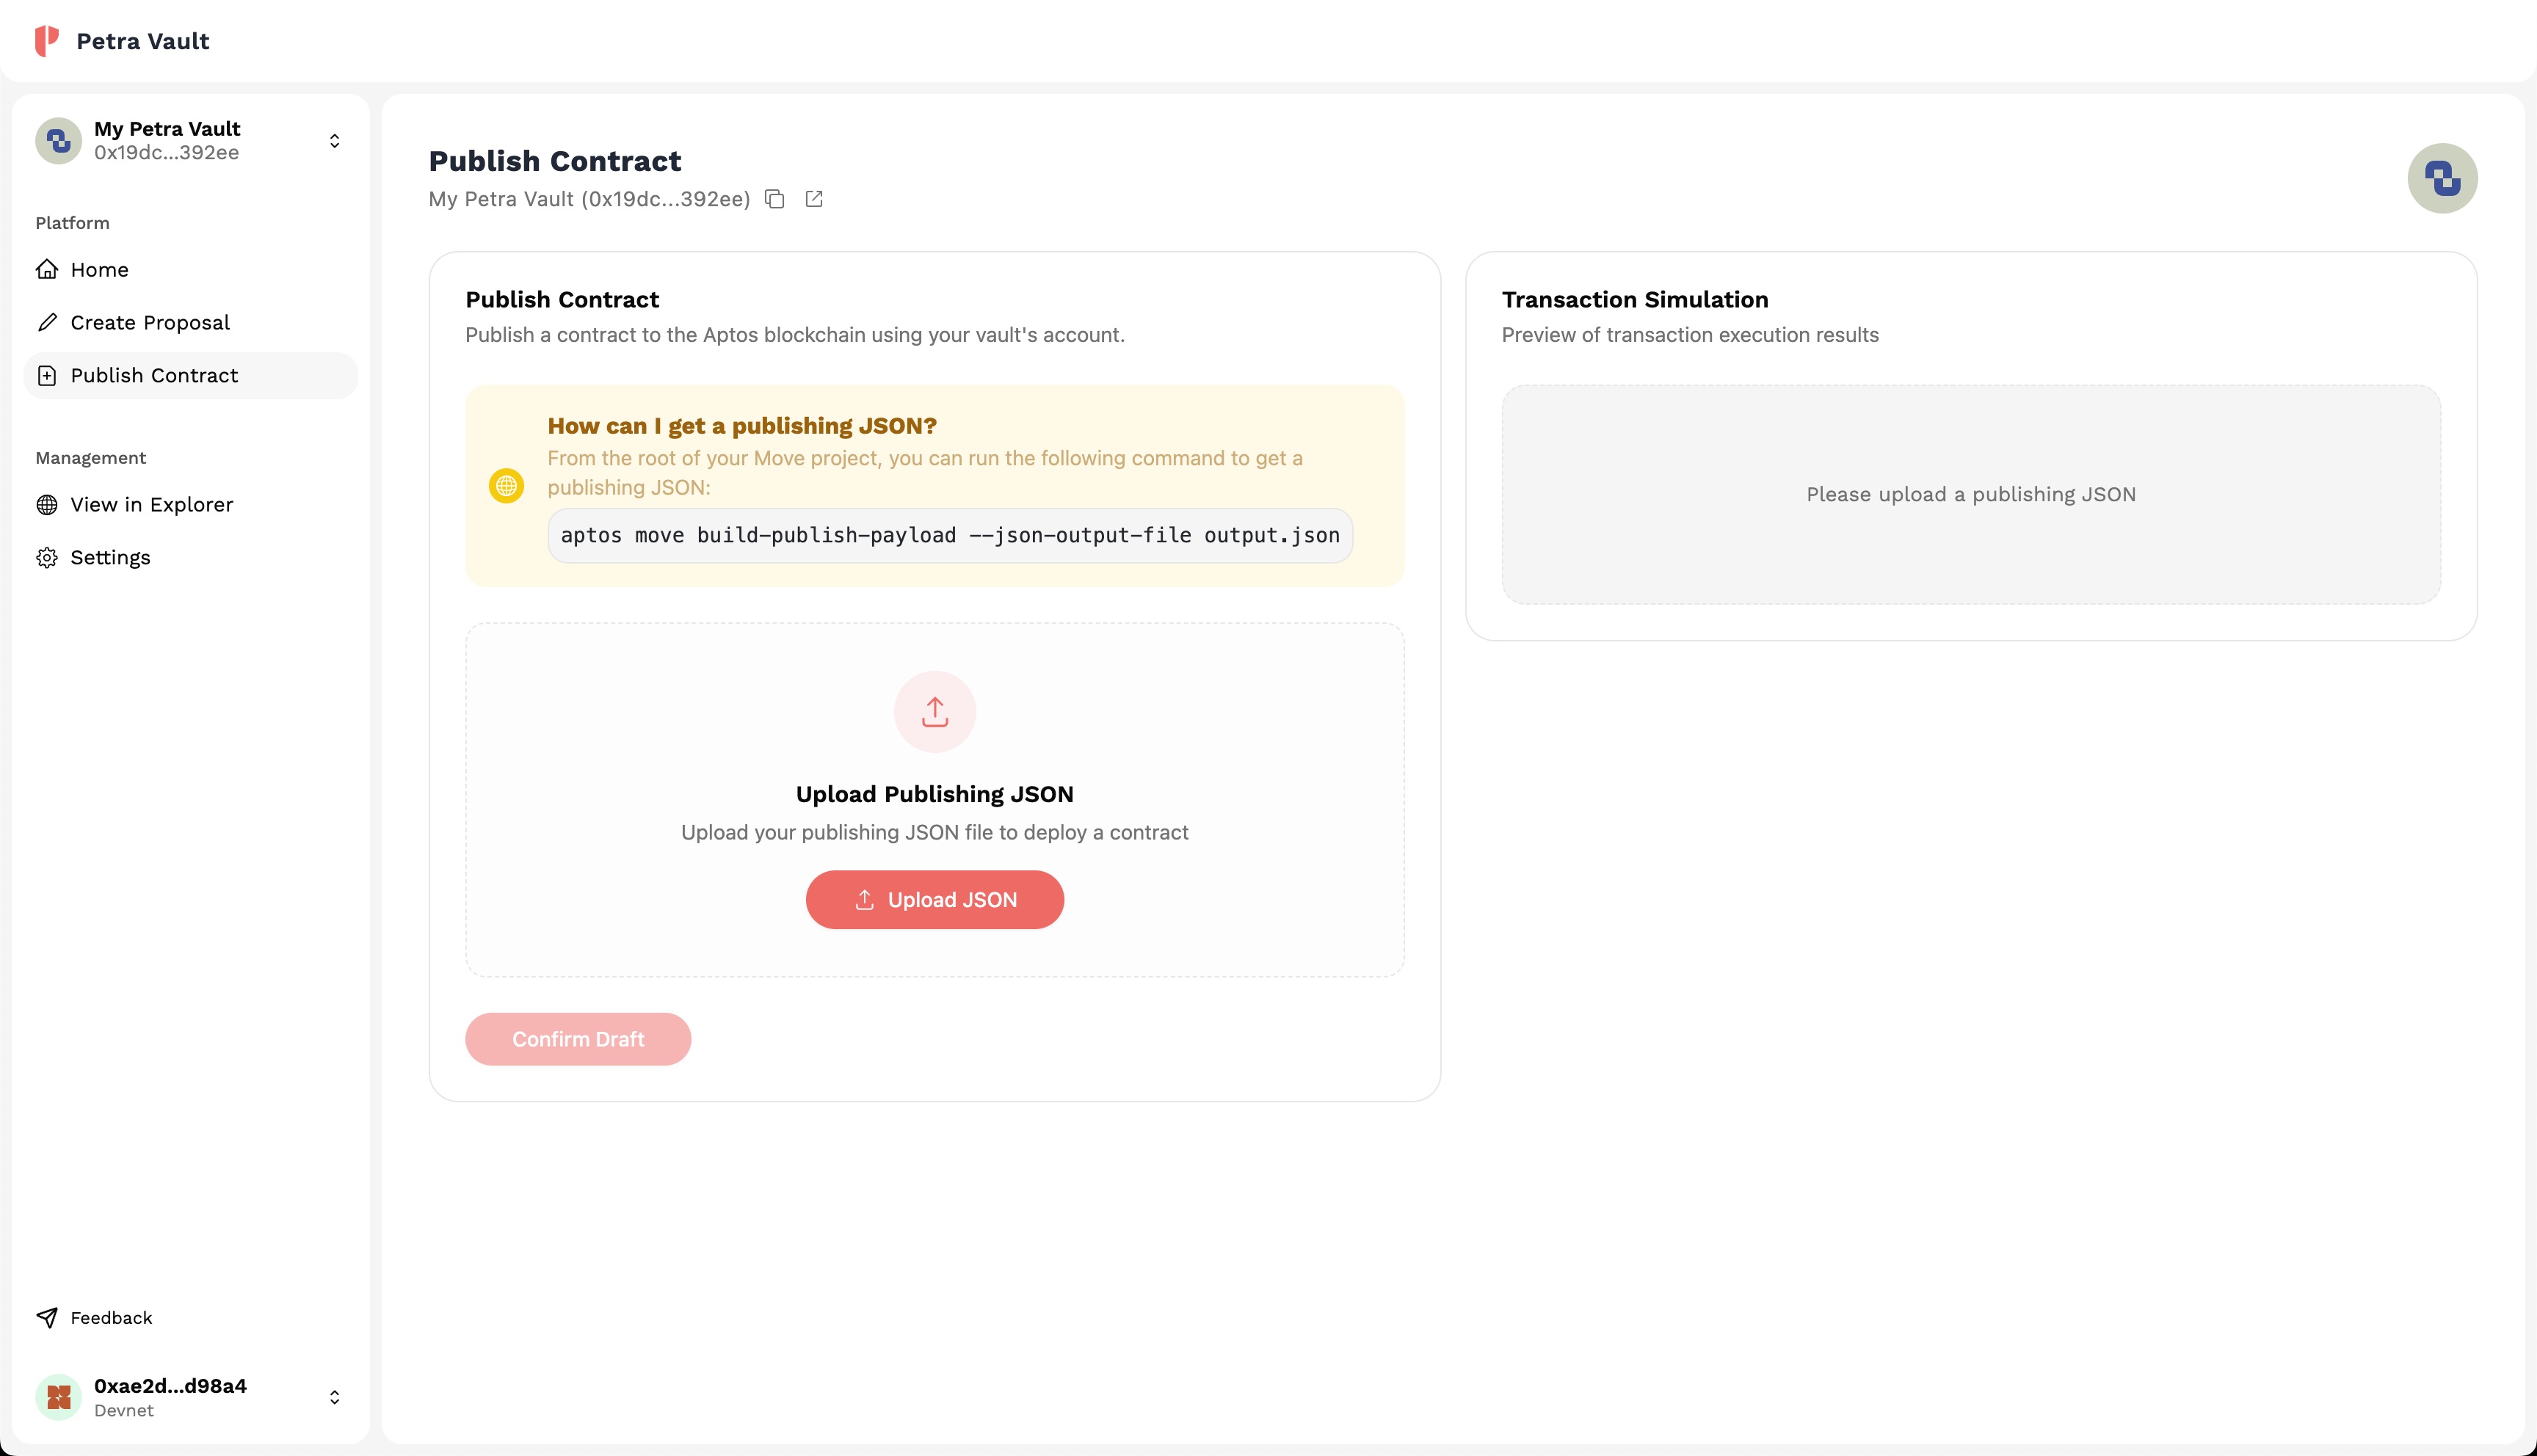
Uploading and Review the Publishing JSON
Once you are on the Publish Contract page, you will be able to upload the publishing JSON file you compiled earlier by dragging or selecting the output.json file from the last
step. If the JSON file is valid, the simulation should succeed on the right side of the pag,e displaying the payload and other transaction details. Once you are satisfied with the
simulation, go ahead and click on Confirm Draft to take you to the review page.
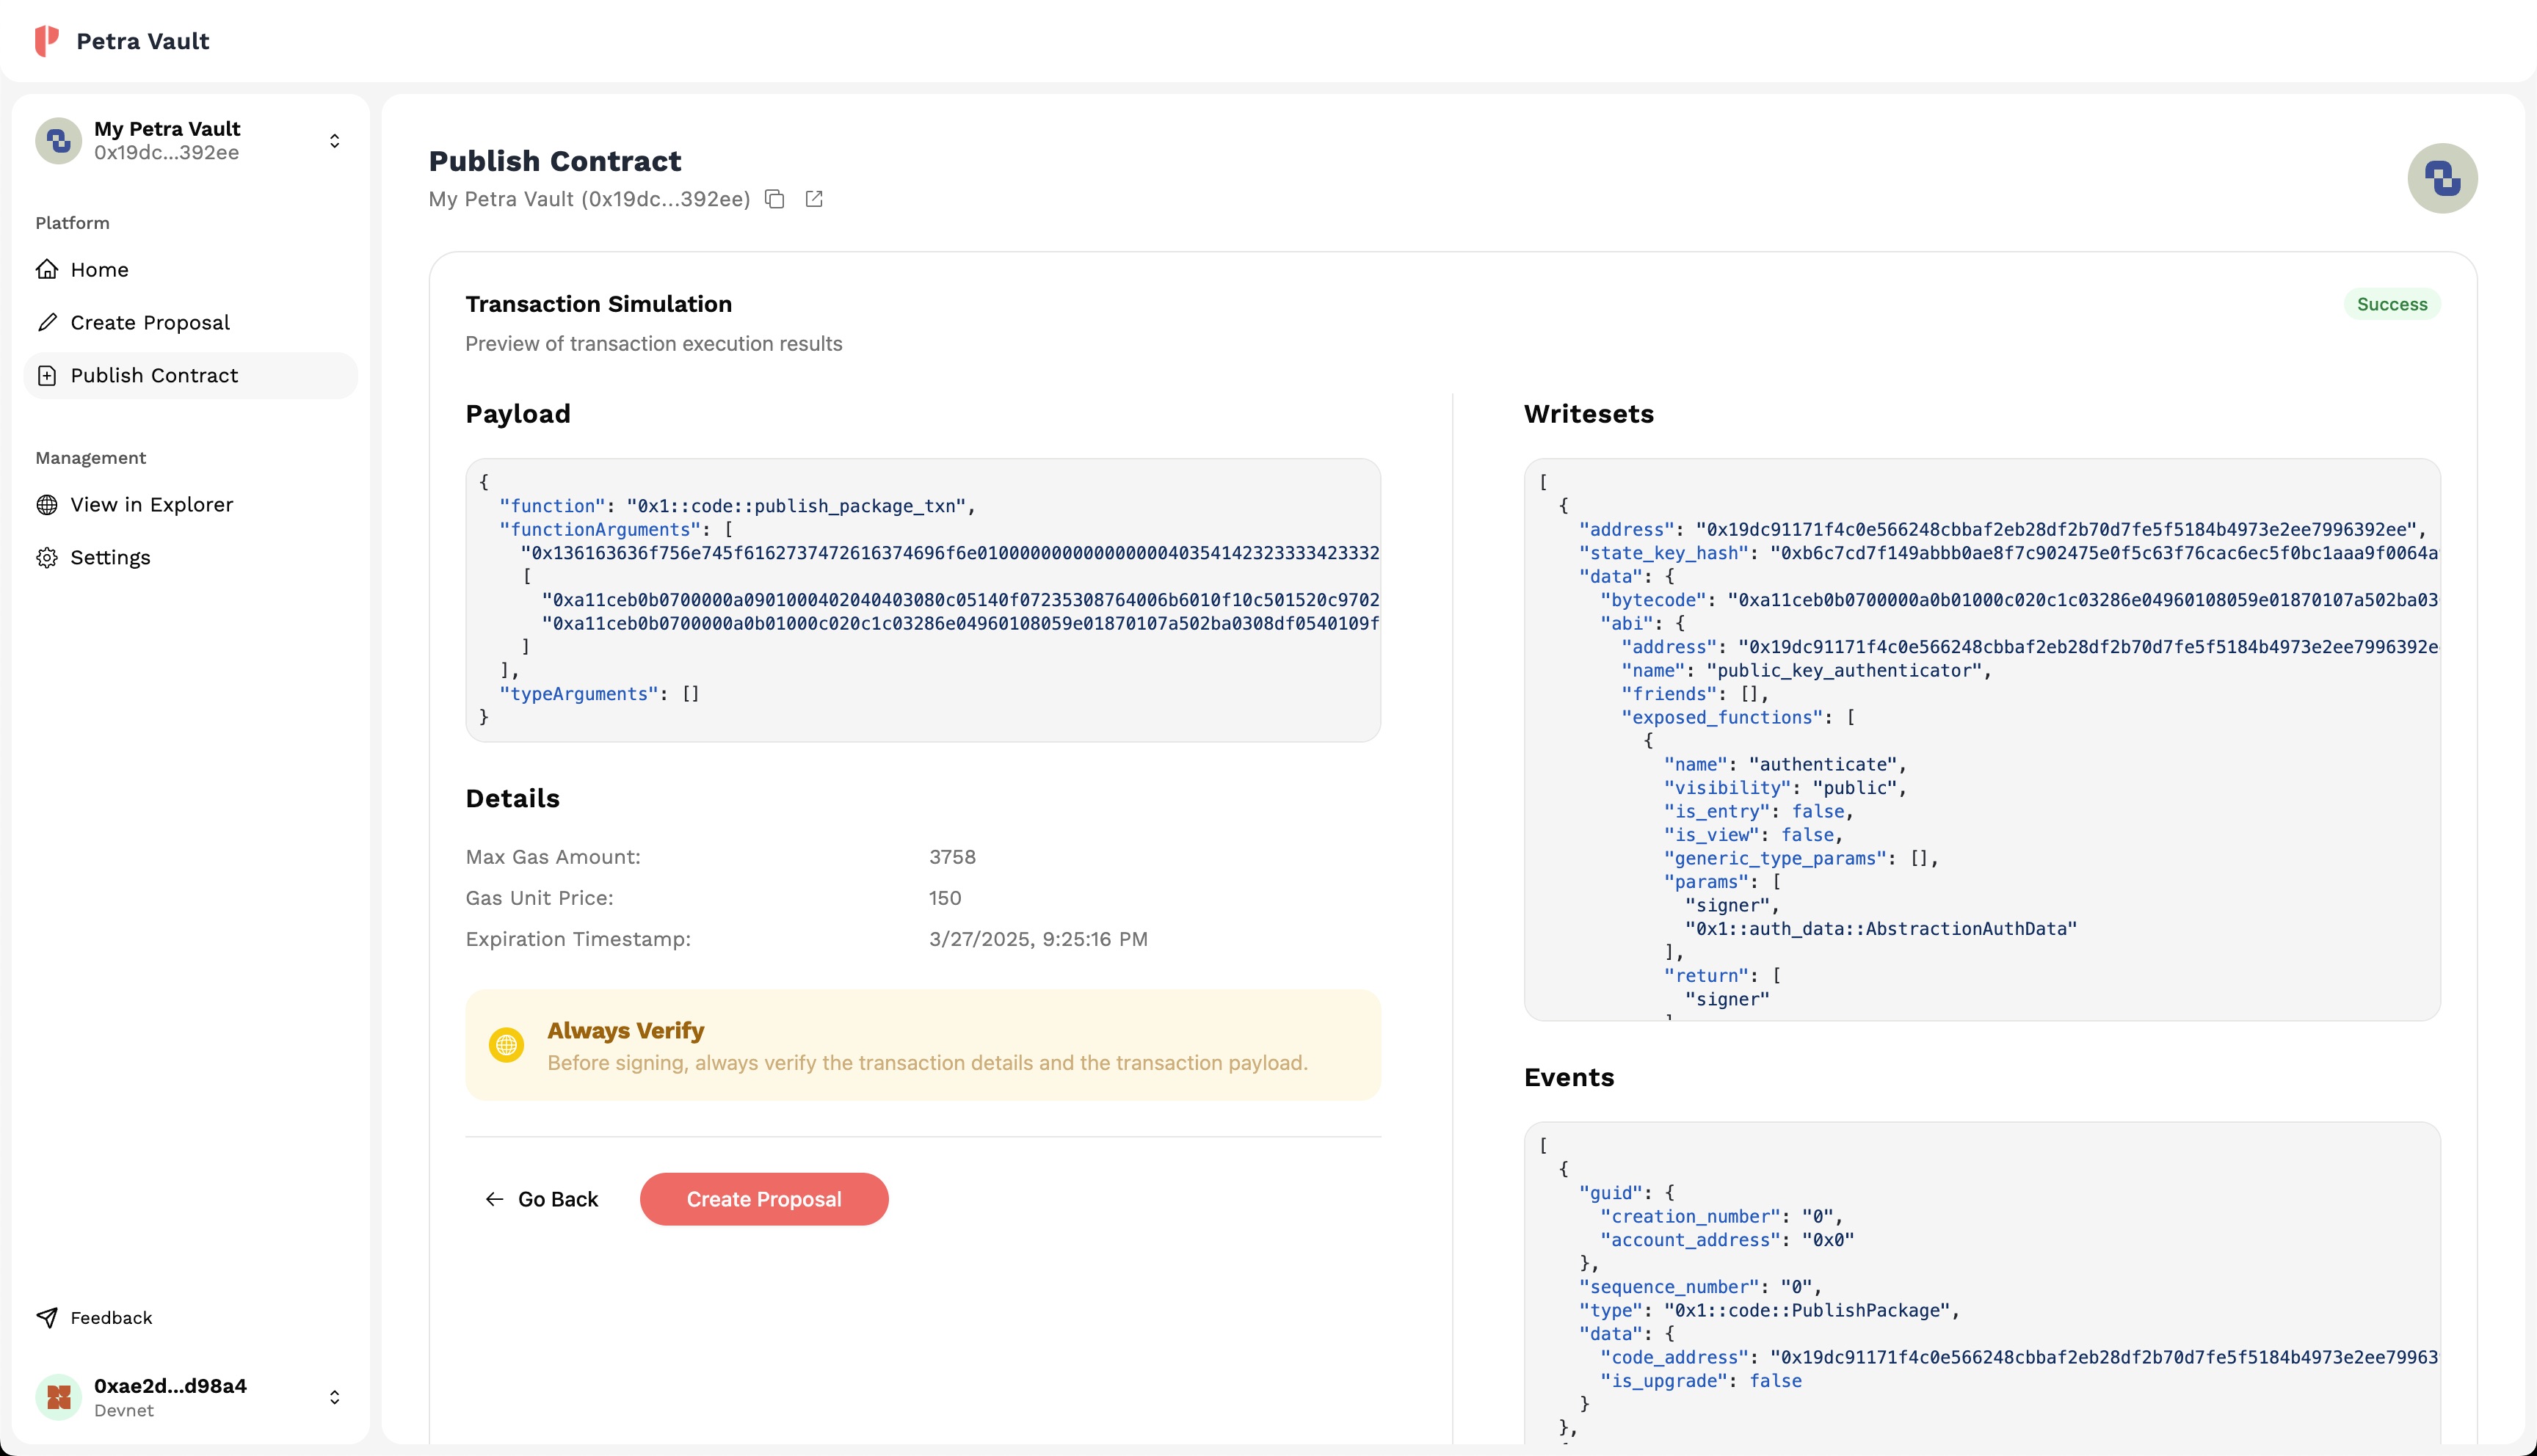
And once satisfied with the final transaction details, click on Create Proposal to add the transaction to the queue of the Vault. Adding a transaction requires gas fees from the owner's account.
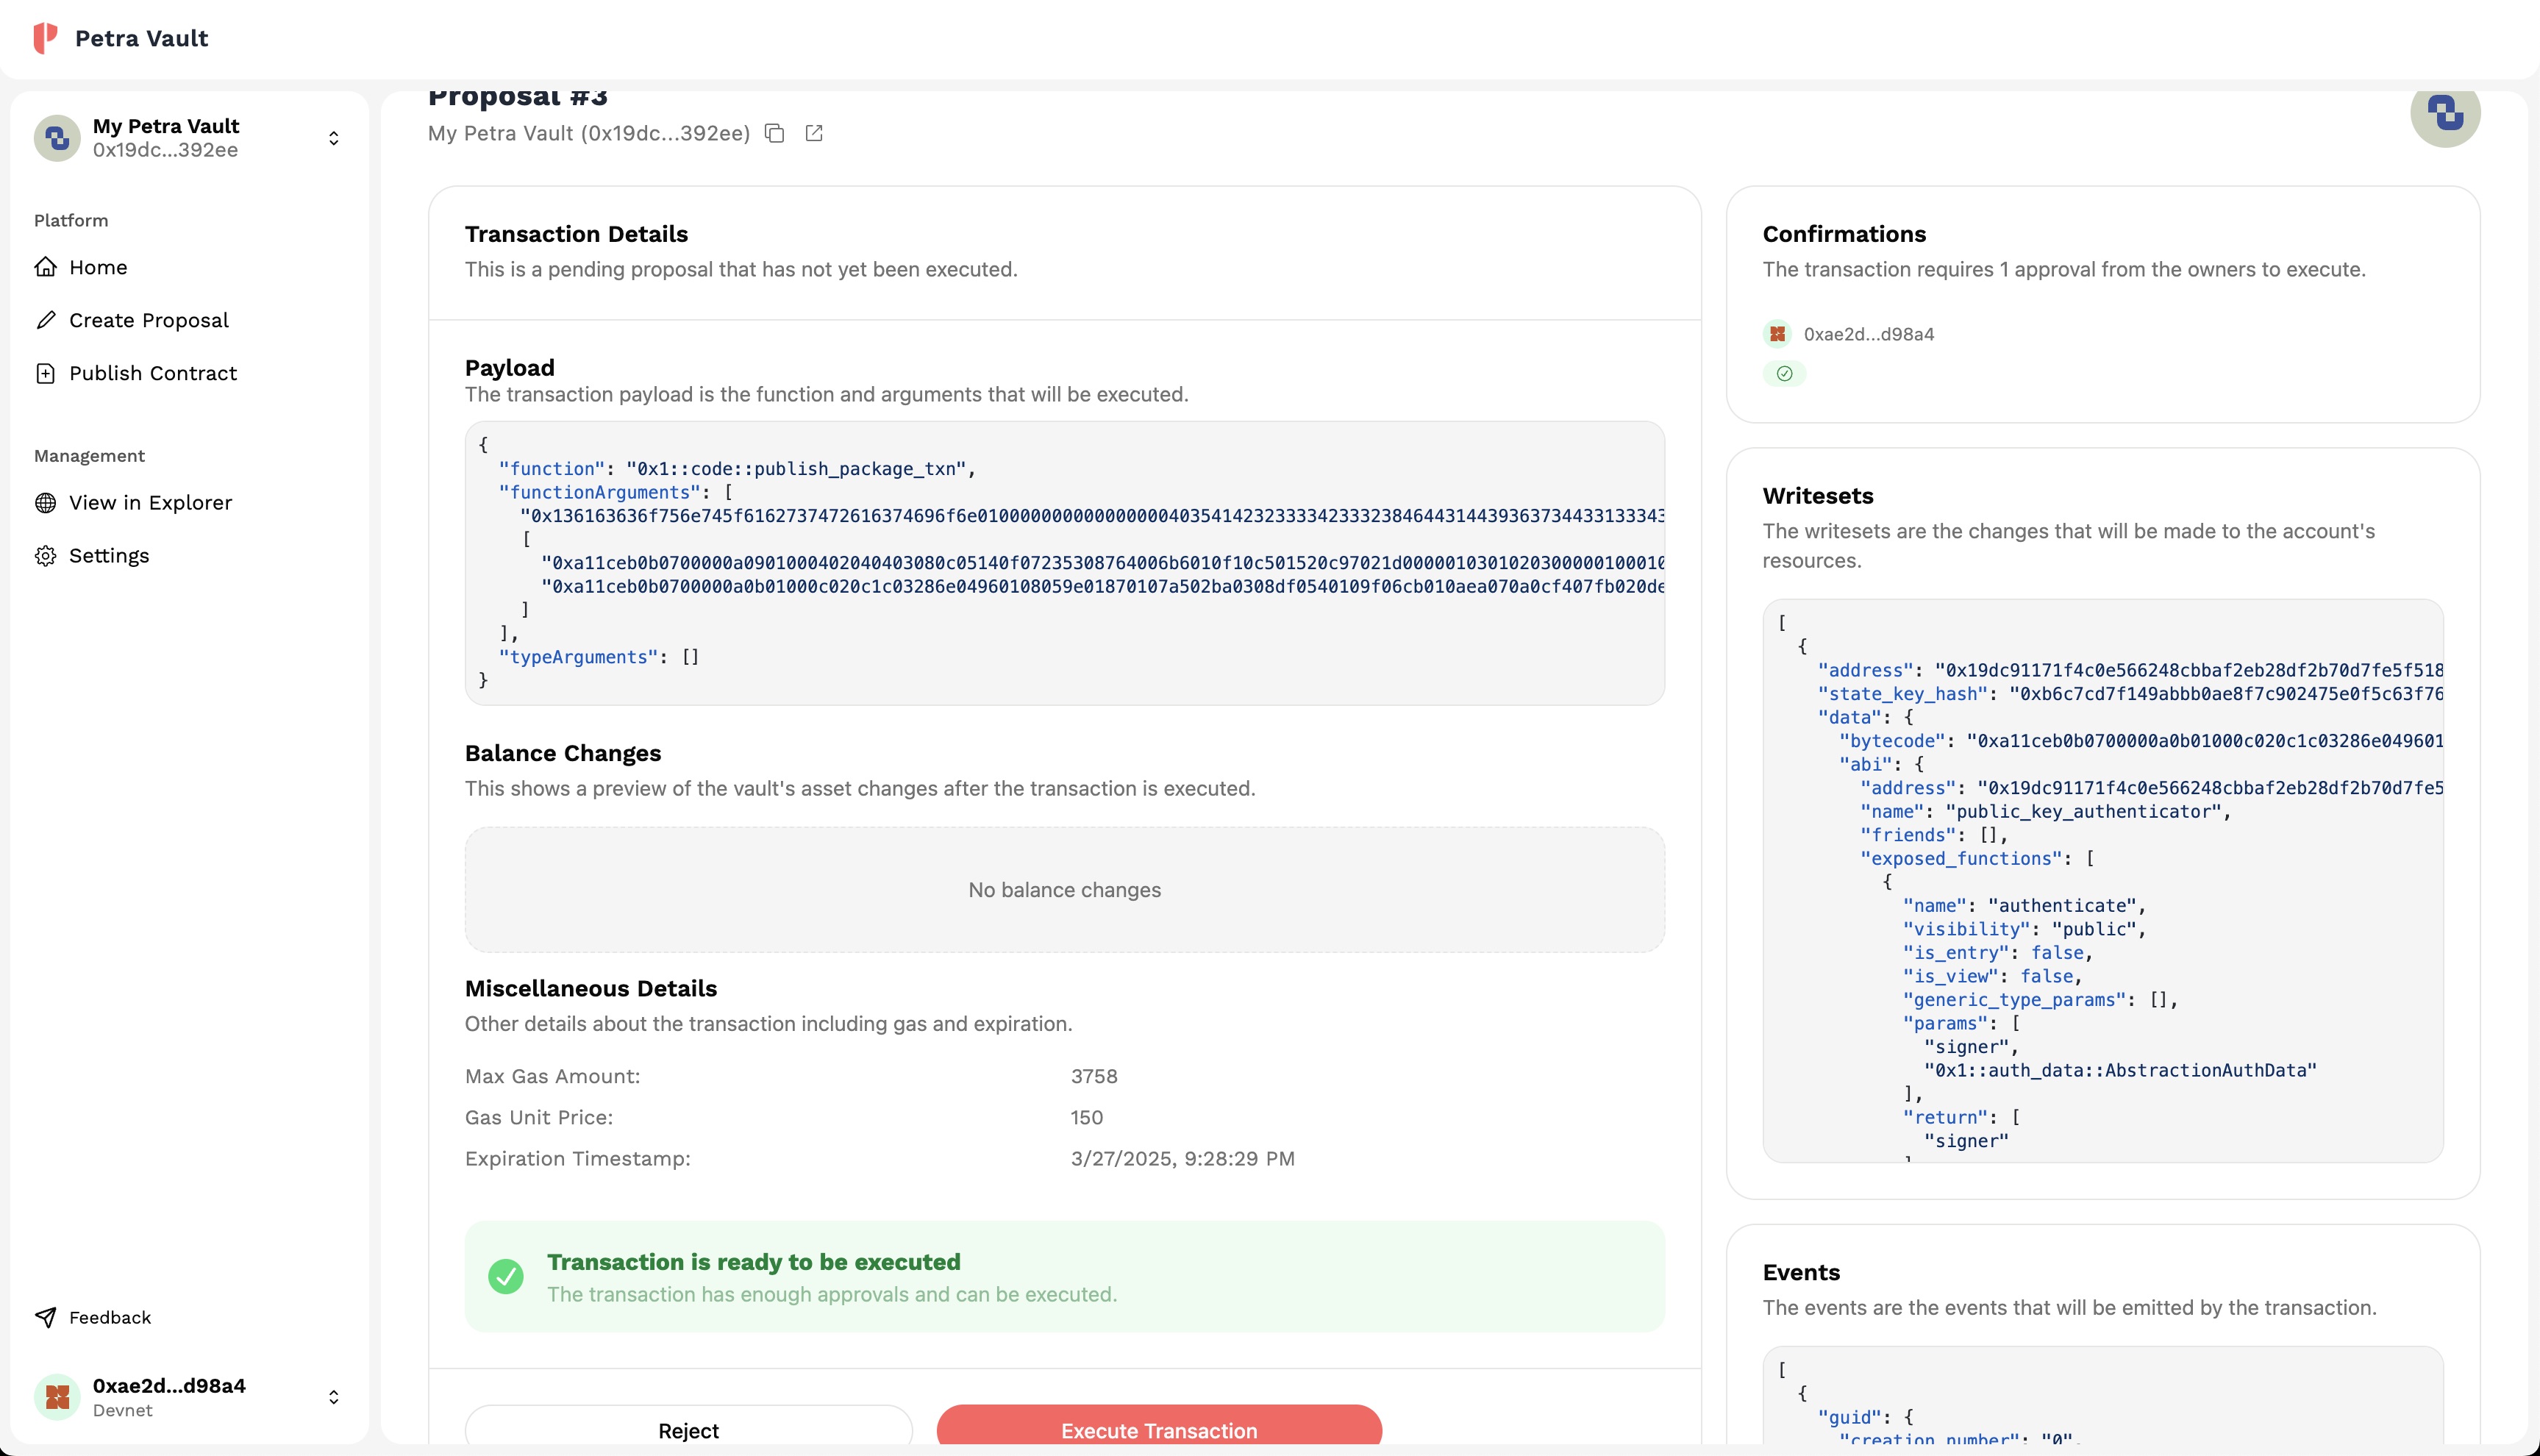
Executing the Transaction
To execute the transaction, refer to the Transaction Management guide to learn how to vote and/or execute or remove the transaction from the queue.